Lace Collar ~ Wedding Veil Alternative
I’ve never been a fan of wedding veils, but I love adornments, so I really wanted to do something different. Cruising around on Pinterest, I came upon some gorgeous photographs and paintings of queens with stand up lace collars. I just thought it was such a whimsically frivolous concept.. something you never get to see nowadays! It wasn’t Harry Potter per se, but there’s definitely a theatrical and old world element which I thought would tie it in.
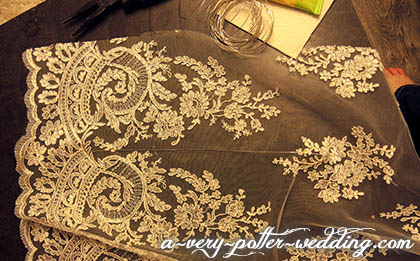
Fabric
When I went to look at wedding lace at the fabric store, I immediately understood why veils were so expensive. The real nice, imported lace runs anywhere from $70-$200 CAD per metre!!! For the collar, I needed the really intricate stuff which was up there in price. I think most of the fancy lace fabrics would work for this. But beware of really thinly woven ones that won’t have enough support to stand up straight. The more intricate and tightly woven the fabric, the better.
I think I bought about 2 square metres (about 7 feet).
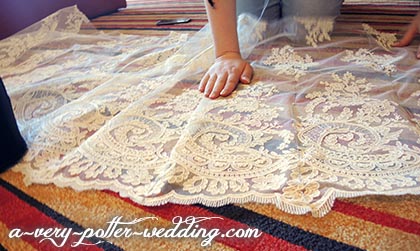
Gauging Size
I didn’t really know what I was doing, so I spent some time in front of the mirror playing with the lace, trying to get a feel for how tall and wide I wanted the final collar to be. At first I wanted it to come down along the front of my dress, but I eventually realized that to attach it that way without it looking crappy would be near impossible. I opted to keep the collar fully in the back.
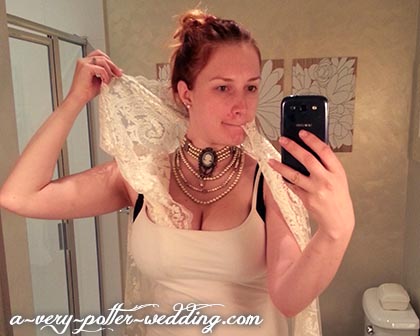
Me in front of the mirror, testing out various configurations. Here I’m trying the failed design of having it attach at the front.
Wire Scaffold
I figured the stiffening spray wouldn’t be enough to hold the whole thing up, so I went to a craft store and bought wire. I’m not sure which gauge I bought, but I think a wide range would work. I wish I had bought something thicker. I think you can’t go wrong with thicker wire, as it is quite a bit job to hold up this much glue-doused fabric. The bigger the project, and the thicker the lace, the thicker the wire you should opt for.
I cut the wire into pieces as long as I wanted the collar to be tall. Then, I wove each piece in and out of the lace vertically. I used the existing lace design as a guide, and placed the wire at the high points of the finished edge. At this point, the collar was a long, rectangular piece of lace, with wires going across its width.
Starting to weave one end of wire through the ornate end of the lace.
Wire can be seen weaving in and out of the lace, along its width.
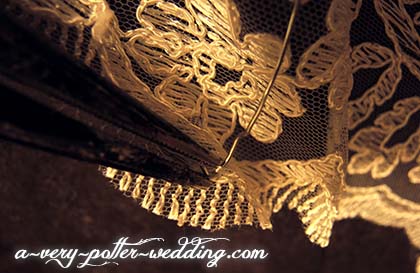
Once the wire ran the width of the lace, I bent the tip on each end with pliers.
Stiffening
I bought two bottles of Stiffen Stuff from the Walmart craft section. I hung the fabric on a fence outside and sprayed it profusely. I waited until it dried and sprayed again. I probably did about four or five rounds of this. Basically, you want to keep going until the fabric takes on a stiffness so that it can stay upright. The stuff does start to crack off into a powder, so there’s only so much you can do (which is why the wire is key!).
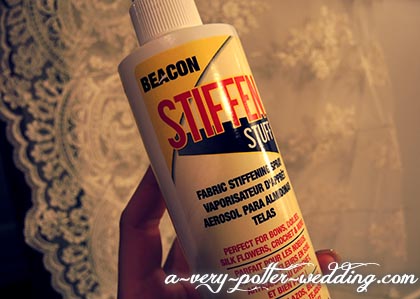
The lace got a few rounds of Stiffen Stuff spraying.
Sewing into shape
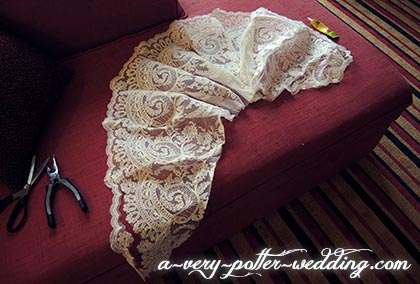
Now it was time to take the scaffolded, stiffened rectangle and start to curve it. I laid it out on the floor and folded the fabric. I folded it at the points that had the wire, and bent the fabric from the bottom. The ornate, top edge remained mostly unbent, but the bottom was all folded up which created the rounded shape I was looking for. I then took white thread and hand-stitched along the folds to seal them into place. This wasn’t an exact science, but I was basically looking to re-shape the rectangle into a half-circle.
I bent along the wire lines, and started stitching the fold down.
The folds started to form the rectangular fabric into a half-circle.
Shaping the Corners
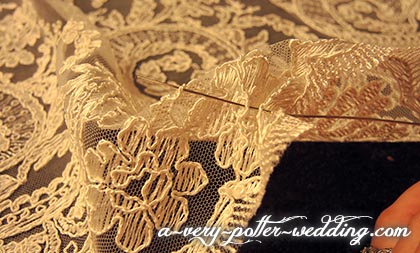
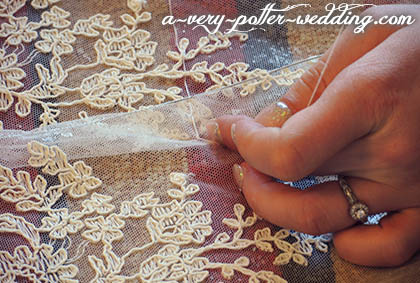
The top was coming along nicely, but the edges weren’t really tapering in. I realized I would have to force them to curl faster, but I didn’t want to lose the beautiful lace design. So I had to determine roughly where I wanted to collar to start drastically tapering in. On the two outer edges, I cut out the edging design, and cut slices out of the middle. I then folded the edging trim more drastically into the collar and glued it into place. The bottom was going to be behind me so I knew it didn’t have to be perfect. Luckily, lace is so intricate that this hack blended in perfectly!
On both ends, I separated the trim edge from the remaining fabric, then cut off the excess.
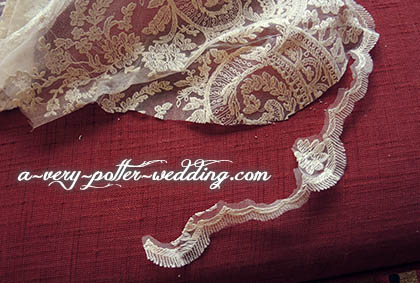
Here is the separated edge, and the trimmed fabric, about to come together with glue.
Finishing Touches
Once the edge pieces were glued into place, I did a few more rounds of hand-sewing of all the base folds, just to make sure everything was going to remain in one piece. Attaching this to the dress wasn’t very technical.. Basically, I had my maid of honour stuff the base of the collar into the back of my dress, and do a few simple stitches to keep it in place. The wire scaffold and stiffening steps allowed the collar to take over from there and stand up.
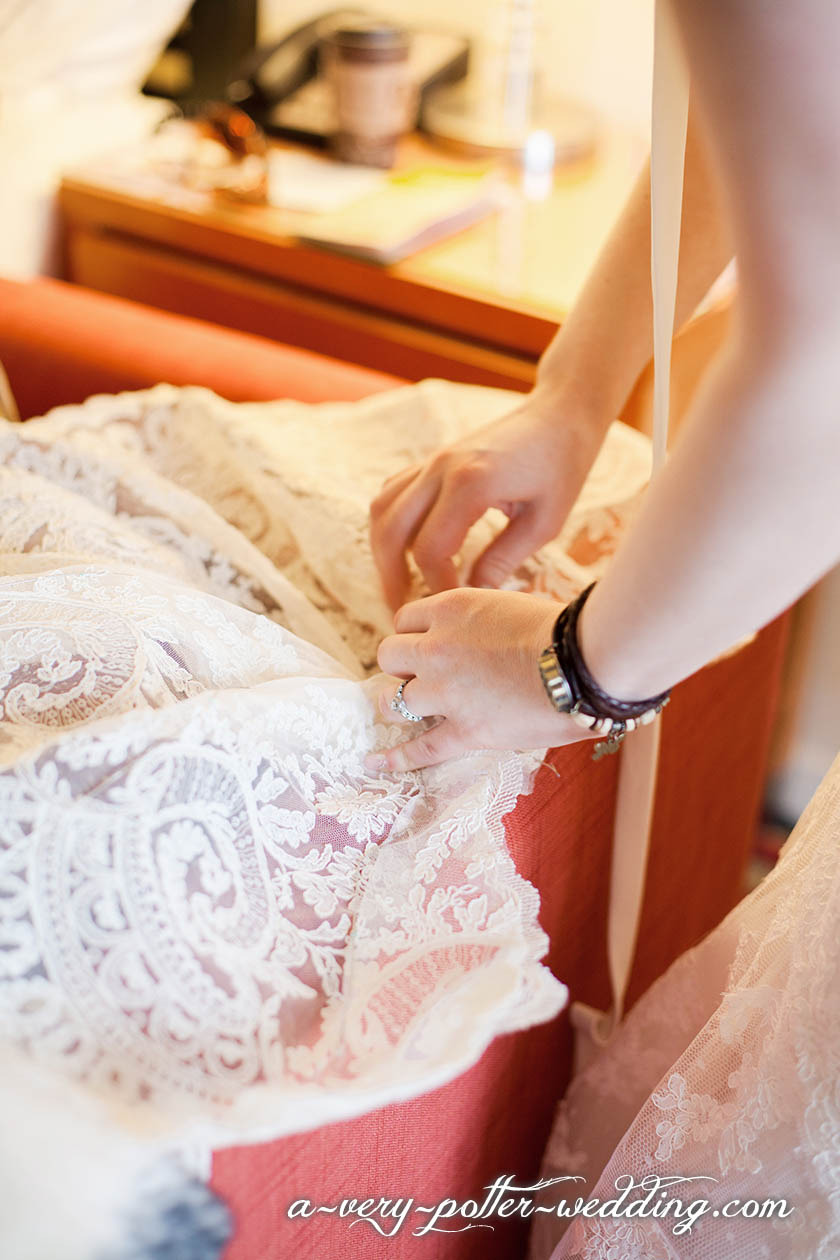
Putting the final stitches into the base to hold the whole thing together and tighten it more. Here, just below my bracelet, you can see where I glued the trimmed edge onto the trimmed fabric. Credit: Gucio Photography
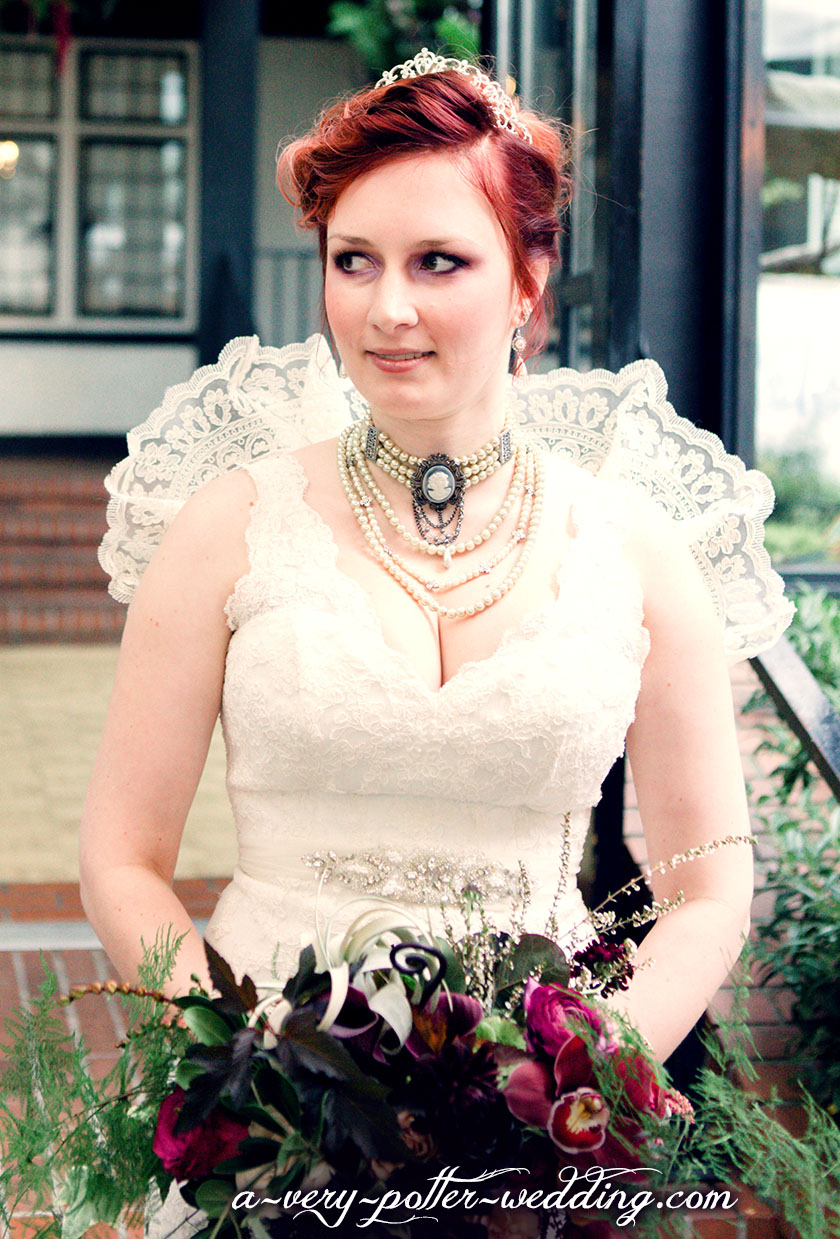
Final Product
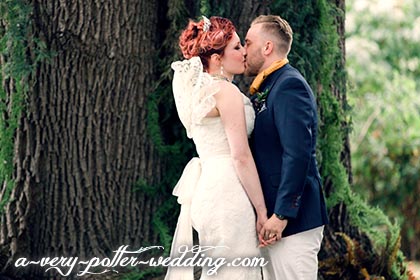
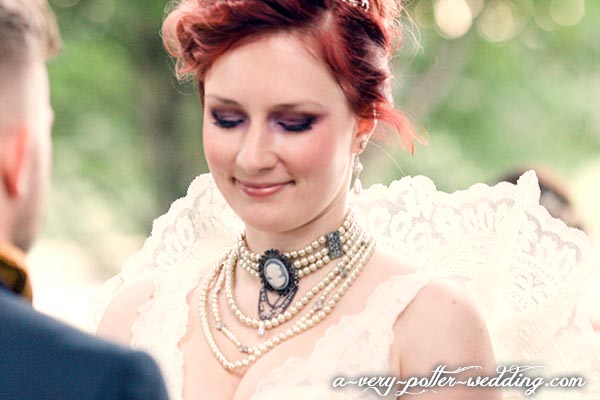
I didn’t yet have the collar on our “first look” photographs, and had it inserted just before the walk down the aisle.. The final “wow” piece for the ceremony! In hindsight, maybe I should have had it placed sooner but we were running really late for our photo shoot as it was, and who knows, maybe it would have been too worn out. Either way, it looked great down the aisle!
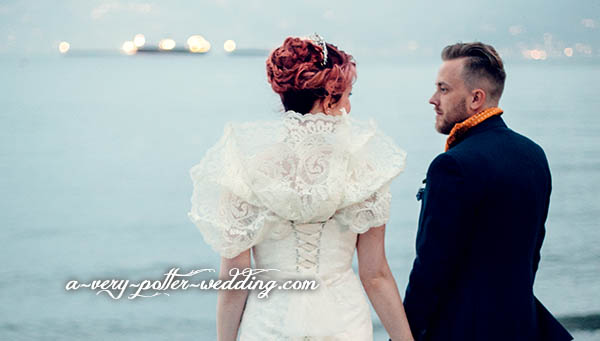
Back view: here you can see how the collar is basically just stuffed into the back of the dress. Credit: Gucio Photography
Final Thoughts
I think this is a wonderful option for any bride, but in particular, if you’re very curvy or large chested like I am, a large stand-up collar can be particularly flattering. Having a large and intricate shape coming up from your shoulders makes everything below seem more dainty and takes focus away from areas you might be self conscious about. It really brings that old world luxury and is probably the DIY piece I am most proud of!